Parts you will need
Elliptical Drive Belt Tightening Summary
- Remove center and upright plastic covers
- Separate the upright arm and leg
- Remove left and right hand belt shields
- Remove left side covers and upright arm
- Tighten the elliptical belt
- Reassemble left side covers, arm and leg
- Reassemble right side covers, upright arm and leg
Elliptical Belt Tightening Detailed Steps
-
Remove center and upright plastic covers
-
Separate the right upright arm and leg
-
Remove left and right hand belt shields
-
Removing left side covers and upright arm
-
Tighten the elliptical belt
-
Reassemble left side covers, arm and leg
-
Reassemble right side covers, upright arm and leg
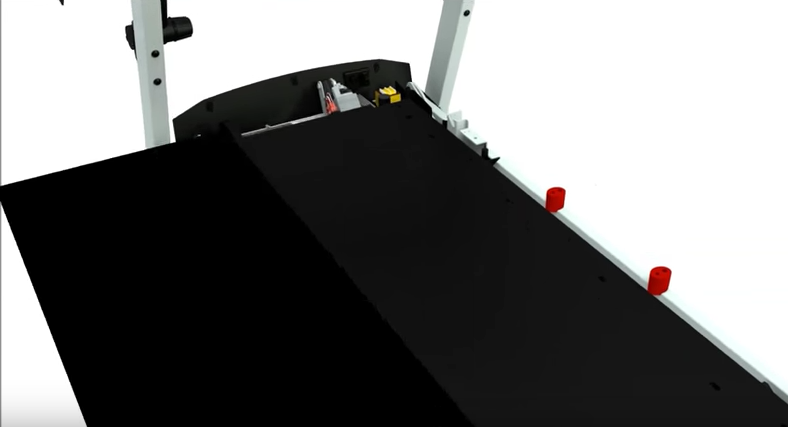
To access the drive belt on an elliptical, you will need to remove a number of components. First, remove the plastic shield cover and the shield cover cap located above the crank pulley at the base of the upright. Now, remove the plastic cover over the joint where the right hand upper body leg and the right hand roller arm pivot together. Gently press on the cover seam until it pops apart. Next, remove the screw and washer that hold the plastic cover in place on the inside of this joint and remove that cover.
Now, using an Allen wrench, remove the bolt, nut, and washers that hold the two arms together. Then remove the spacers on either side of the axle and carefully separate the arm and leg. Now, remove the pivot axle. You must now separate the right hand pedal arm from the right hand crank arm.
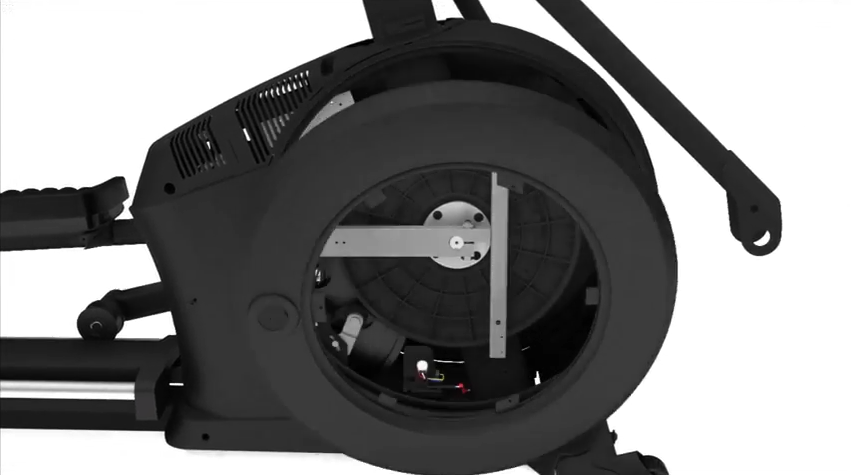
With an Allen wrench, remove the bolt that holds them together along with its cover plate and washer. Then pull the pedal arm from the crank arm. Using a standard screw driver with a thin tip, remove the plastic disc on the right side of the elliptical. Do this gently. It should just pop off.
Remove the right hand pedal ring, and remove the ring from the peg on the Craig bar. Remove the plastic side shield covering the right side of the elliptical. You will not, at this point, be able to remove the right hand side shield from the elliptical until you have removed the screws from the left hand side shield. Now, remove all the same pieces from the left hand side of the elliptical.
You can gauge how tight the belt is by turning the crank pulley by hand. Once you have the drive belt tight enough, tighten back up the idler bolt to hold your adjustment in place. Replace the right and left hand side shields and reattach them with the six screws on the left hand side shield. Now, reattach the left hand pedal ring and snap the left hand disc into place. Then reattach the left hand pedal arm to the left hand crank arm.
Next, reattach the left hand upper body leg to the left hand roller arm and replace the inner and outer plastic cover for that pivot joint. Now, fully attached the left and right hand side shields by replacing the three screws to the right hand side shield.
With this done, reattach the right hand pedal ring and snap the right hand disk into place. Then attach the right hand pedal arm to the right hand crank arm. Next, reattach the right hand upper body leg to the right hand roller arm and replace the inner and outer plastic cover for that pivot joint.
Now, snap the plastic shield cover and the shield cover cap back into place. If the belt continues to slip, you may not have tightened the belt enough. If you feel that the belt has been tightened correctly, your belt may have worn out and stretched, and you may need to replace it.